|
 With the new Apple Upgrade program in the U.S., you can now lease an iPhone, but is it worth it? The answer is more complicated than a simple yes or no. With the new Apple Upgrade program in the U.S., you can now lease an iPhone, but is it worth it? The answer is more complicated than a simple yes or no.
|
|
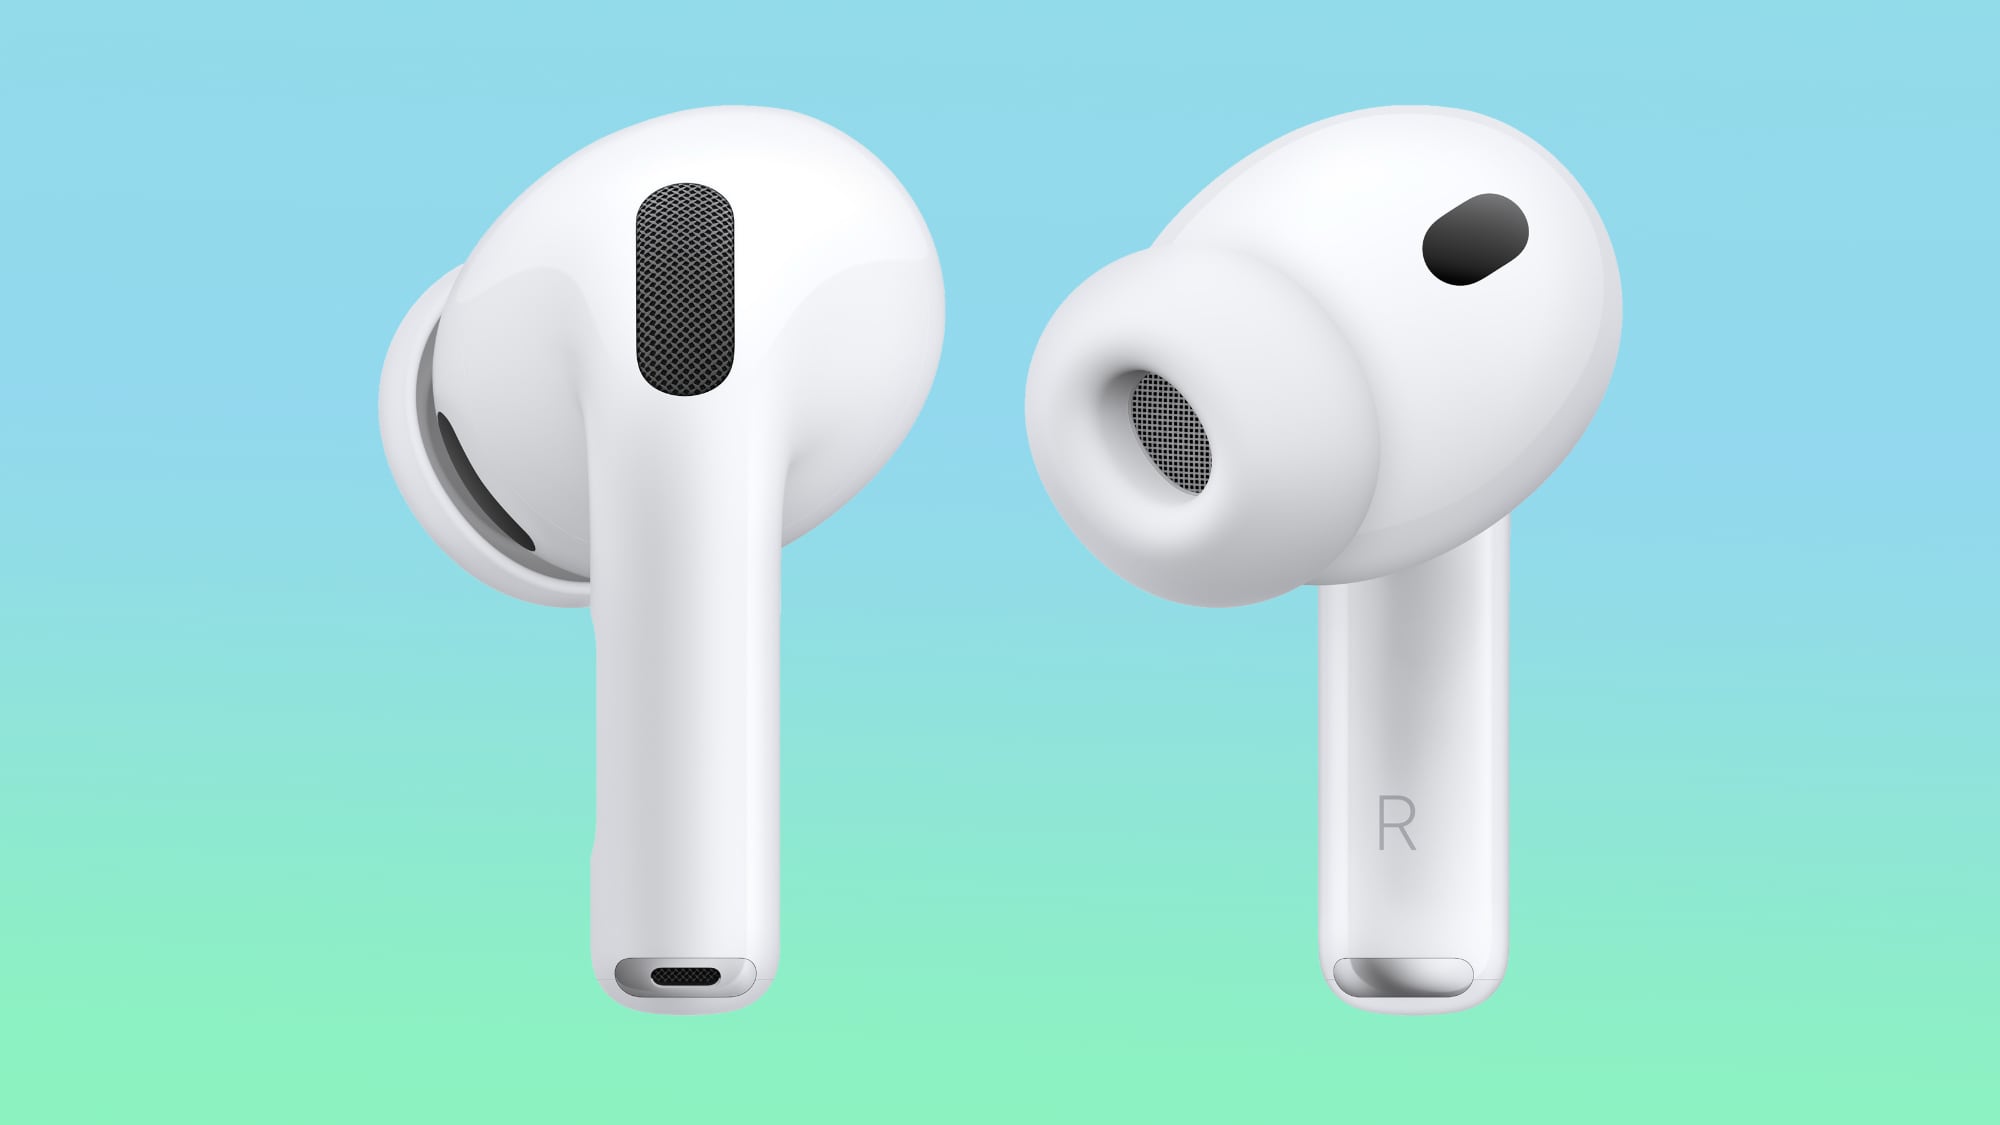 Amazon still has the AirPods Pro 3 available for $199.99, down from $249.00. This is the best price we've seen on the AirPods Pro 3 since Prime Day ended last month, coming in around $20 higher when compared to that all-time low price. Amazon still has the AirPods Pro 3 available for $199.99, down from $249.00. This is the best price we've seen on the AirPods Pro 3 since Prime Day ended last month, coming in around $20 higher when compared to that all-time low price.
|
|
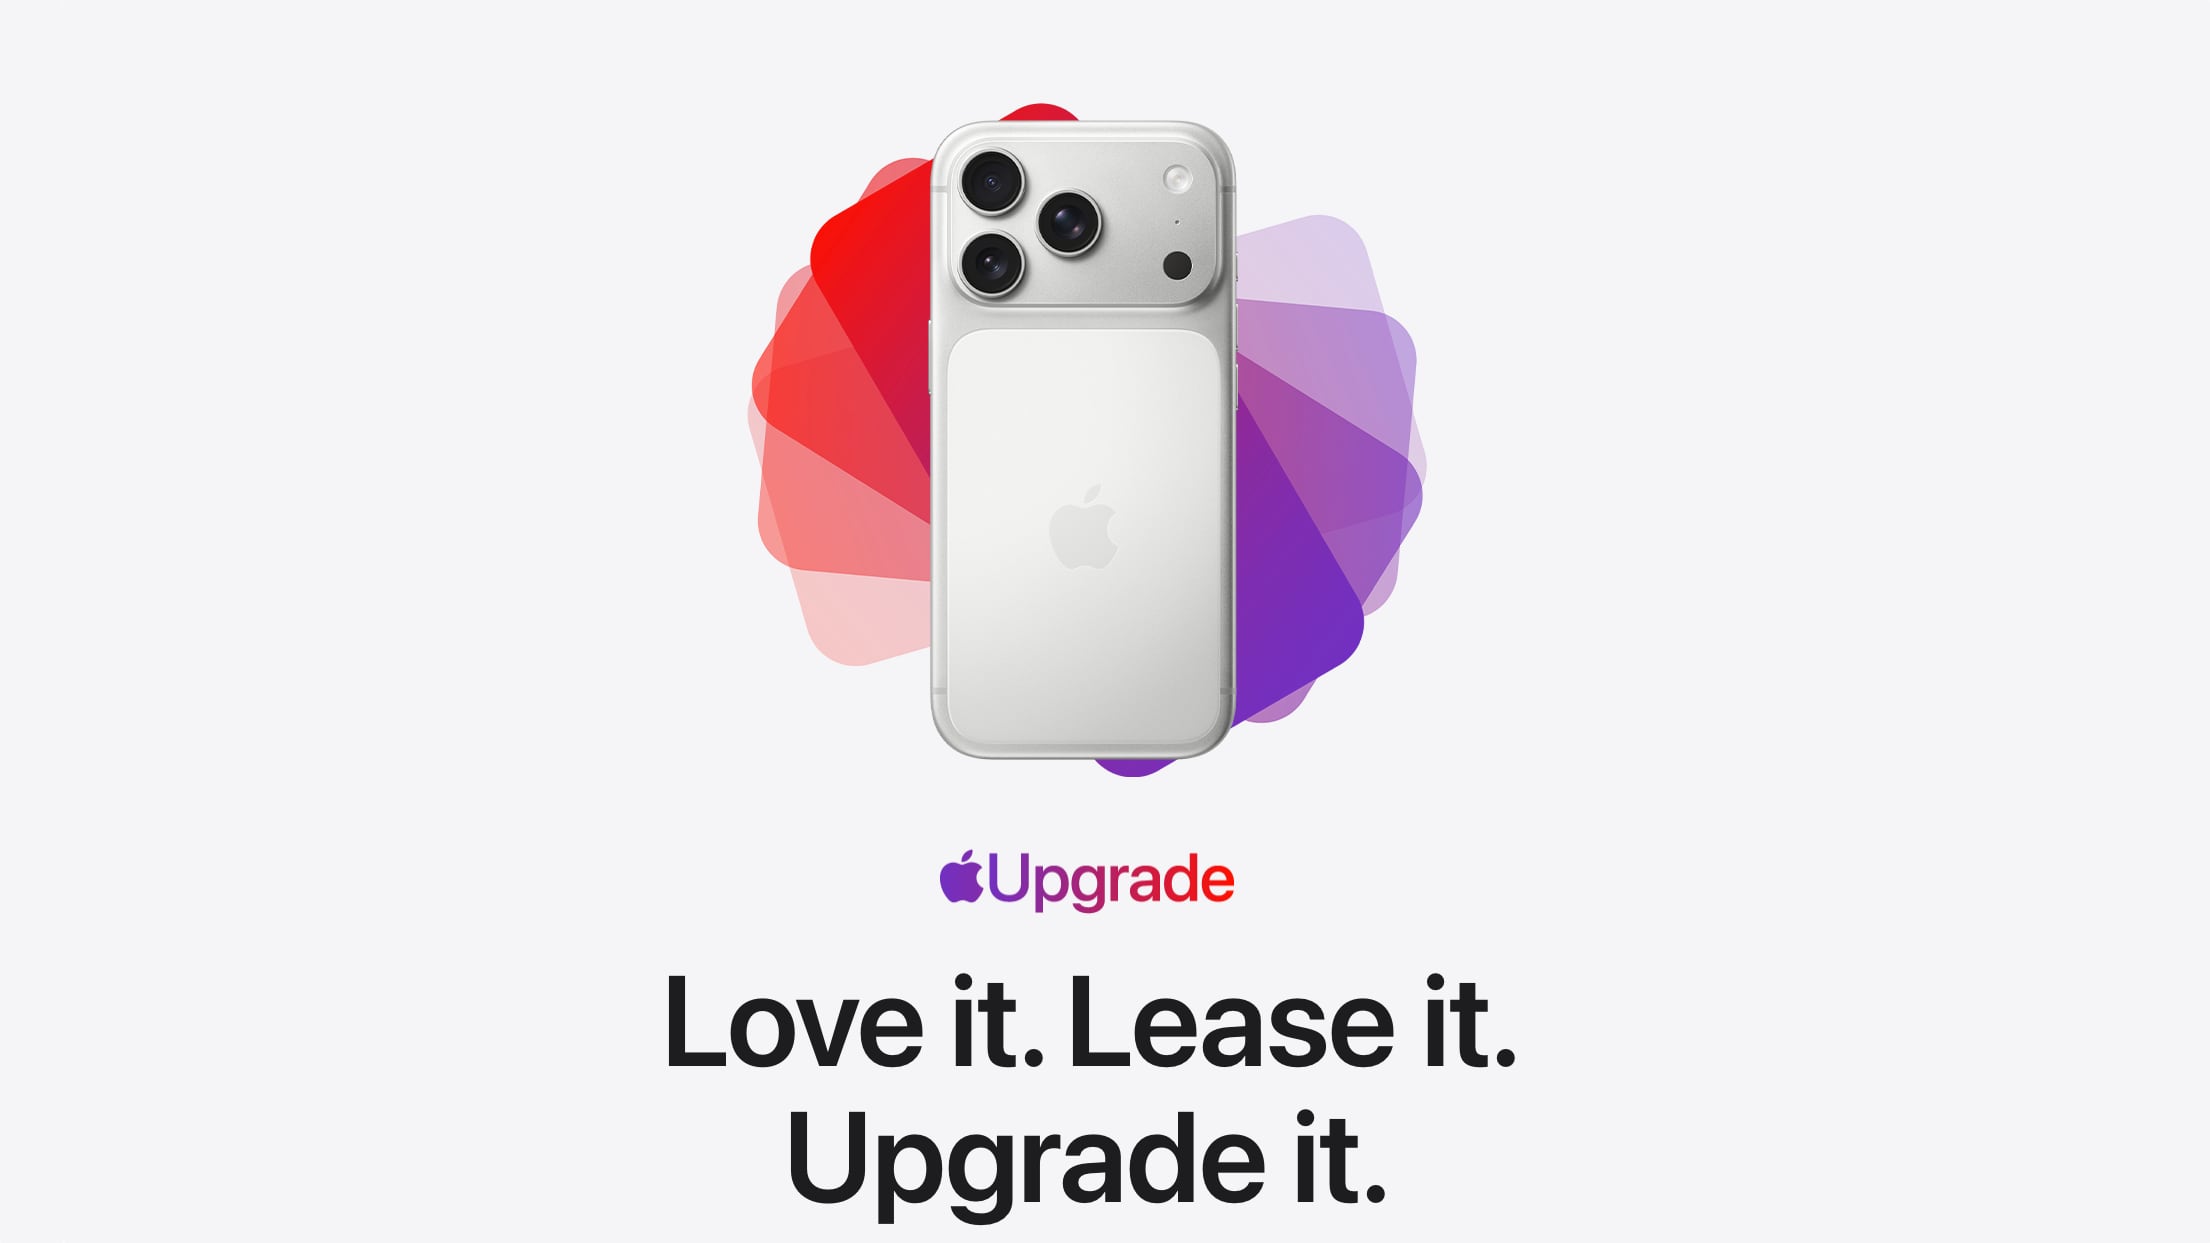 Apple retired the iPhone Upgrade Program in favor of a new Apple Upgrade leasing option made available in partnership with Klarna. Apple Upgrade gives customers an option to get iPhones, iPads, Macs, and Apple Watches at cheaper prices than before, but there are some things worth knowing about it. Apple retired the iPhone Upgrade Program in favor of a new Apple Upgrade leasing option made available in partnership with Klarna. Apple Upgrade gives customers an option to get iPhones, iPads, Macs, and Apple Watches at cheaper prices than before, but there are some things worth knowing about it.
|
|
The 19th-century French novelist Honore de Balzac is believed to have said that behind every great fortune lies a great crime.
That's even more true today than it was 200 years ago — just look at how Big AI, including Anthropic, OpenAI, Google, and others have built their trillion-dollar fortunes.
They all use vast amounts of copyrighted material to train their large language models (LLMs) without paying the copyright holders. In other words, they steal it. They don't call it stealing, though. They call it "fair use," which in this case amounts to the same thing.
Generative AI (genAI) training requires massive amounts of text. The better-written and more information-dense that text is, the more it helps. AI gets a lot smarter a lot faster when it's trained on well-written books and magazine and newspaper articles than when it's trained on social media banter (or most everything else you find on the internet).
Since the dawn of AI, companies have been hoovering up copyrighted material wherever they find it — on the open web, behind paywalls, even in manually scanned books — and then used the scanned text. And they do it all without asking authors' or publishers' permissions, and without paying them.
It's the greatest intellectual property theft in history by a long shot — billions and b
|
|


